
Last updated October 9, 2026
Level 1 sweep and inspection to the NFPA 211 annual standard - flue, crown, cap, and flashing checked and photographed
Chimney sweep logs do not sweep chimneys. They loosen some creosote - which then falls where a brush and vacuum still have to collect it.
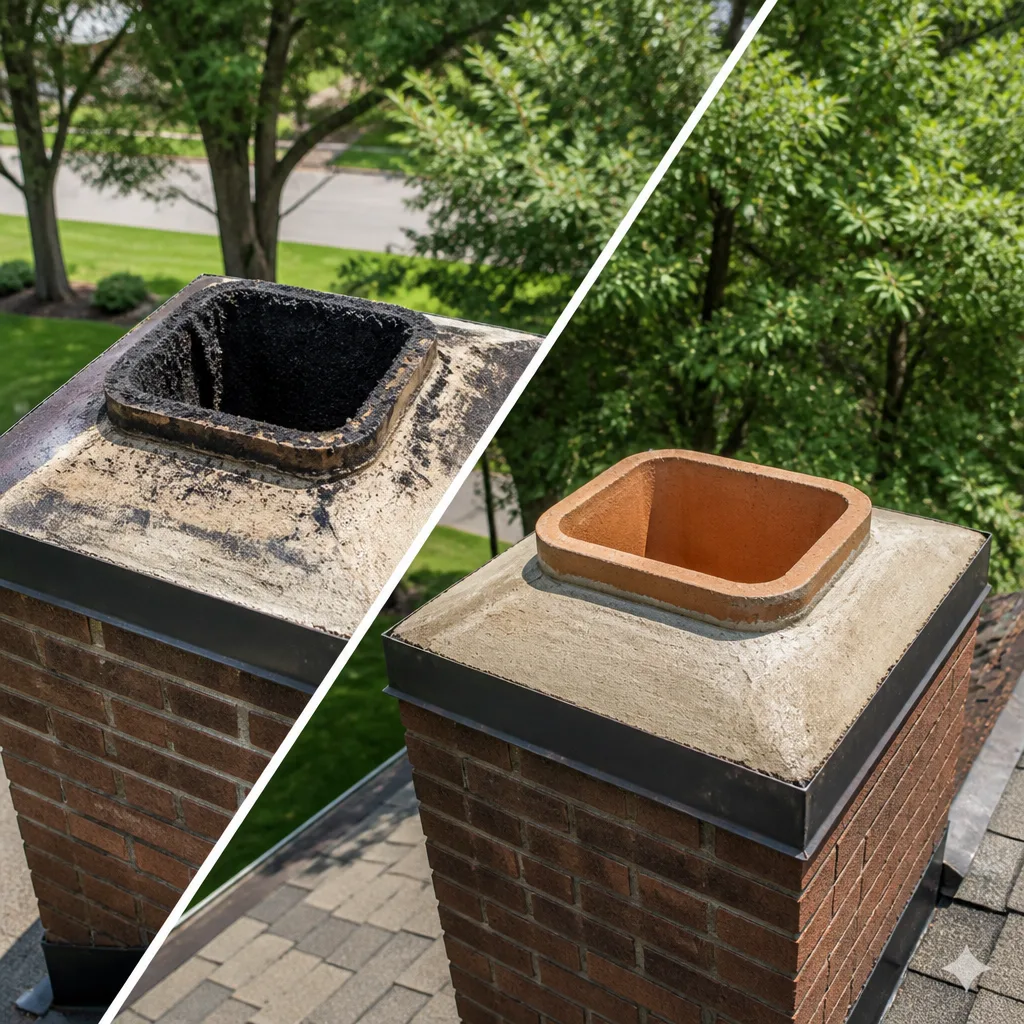
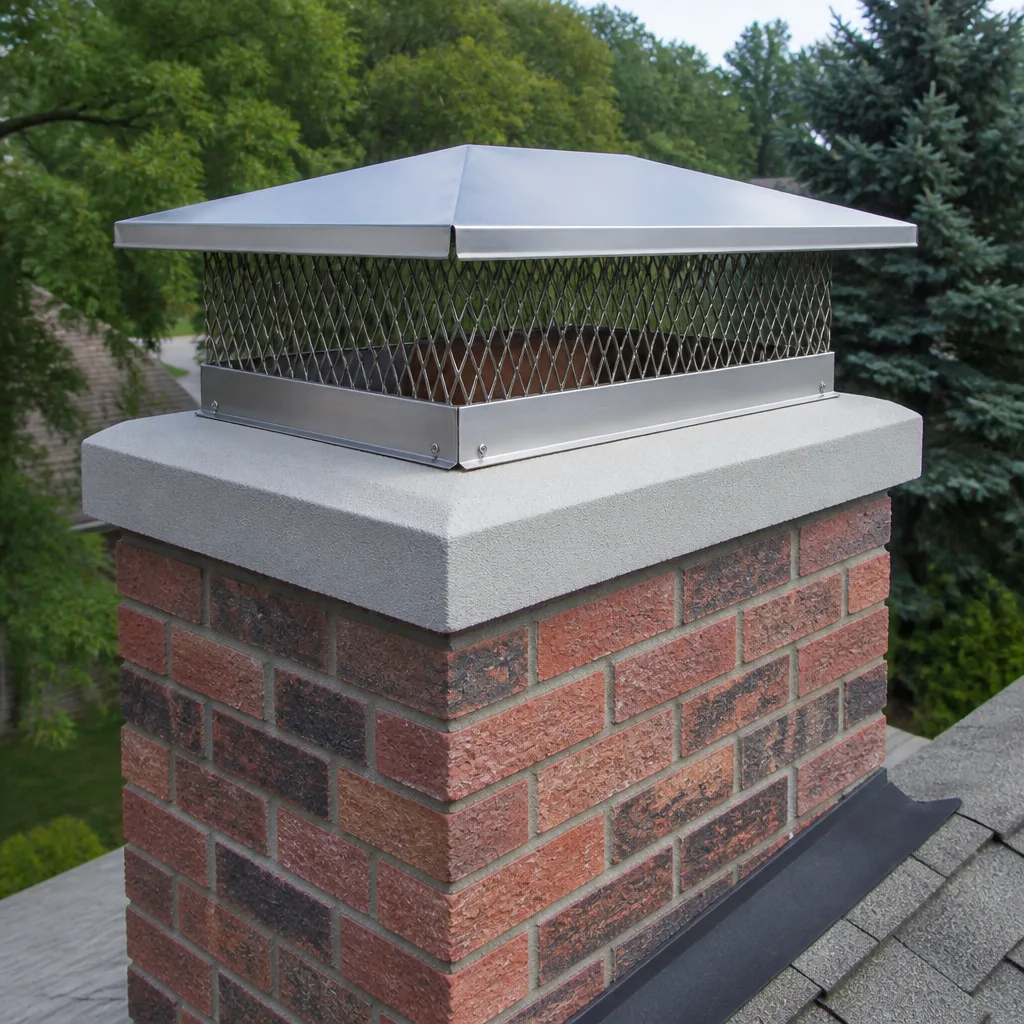
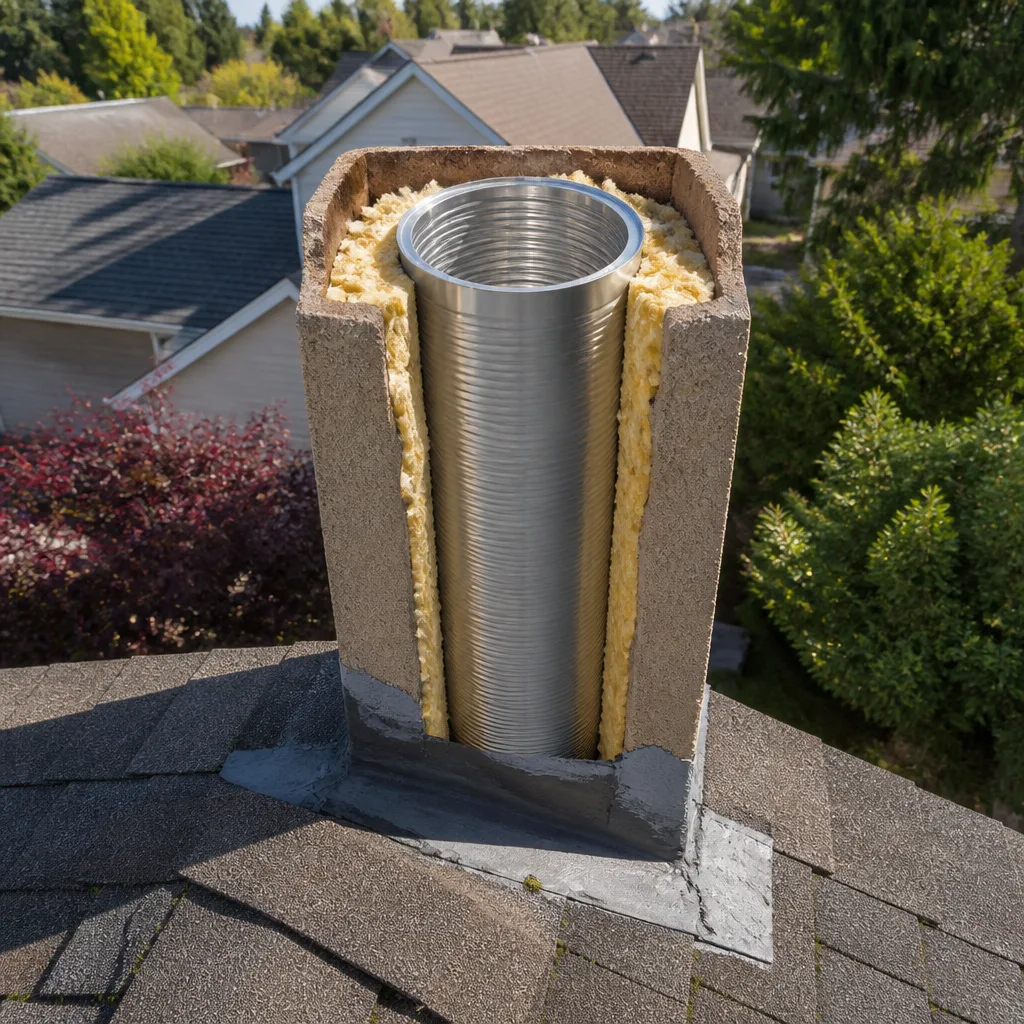
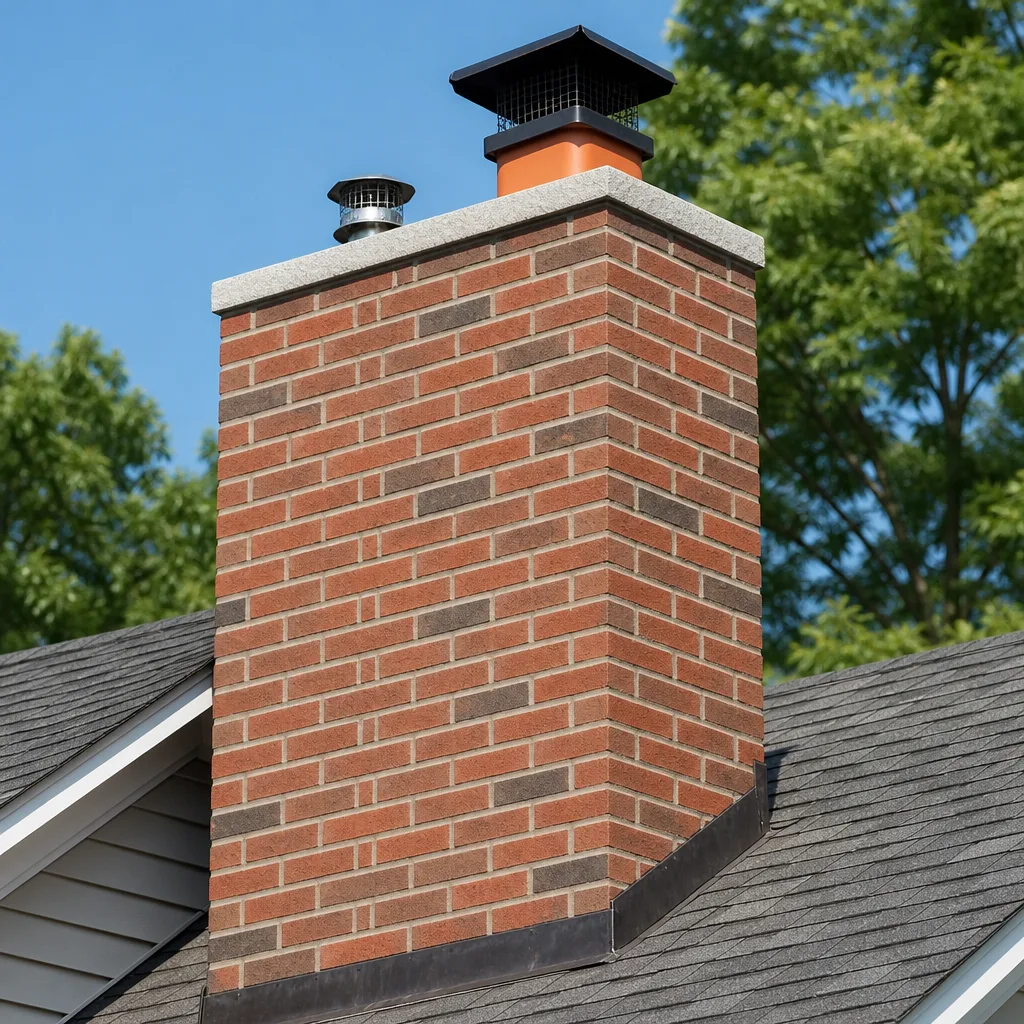
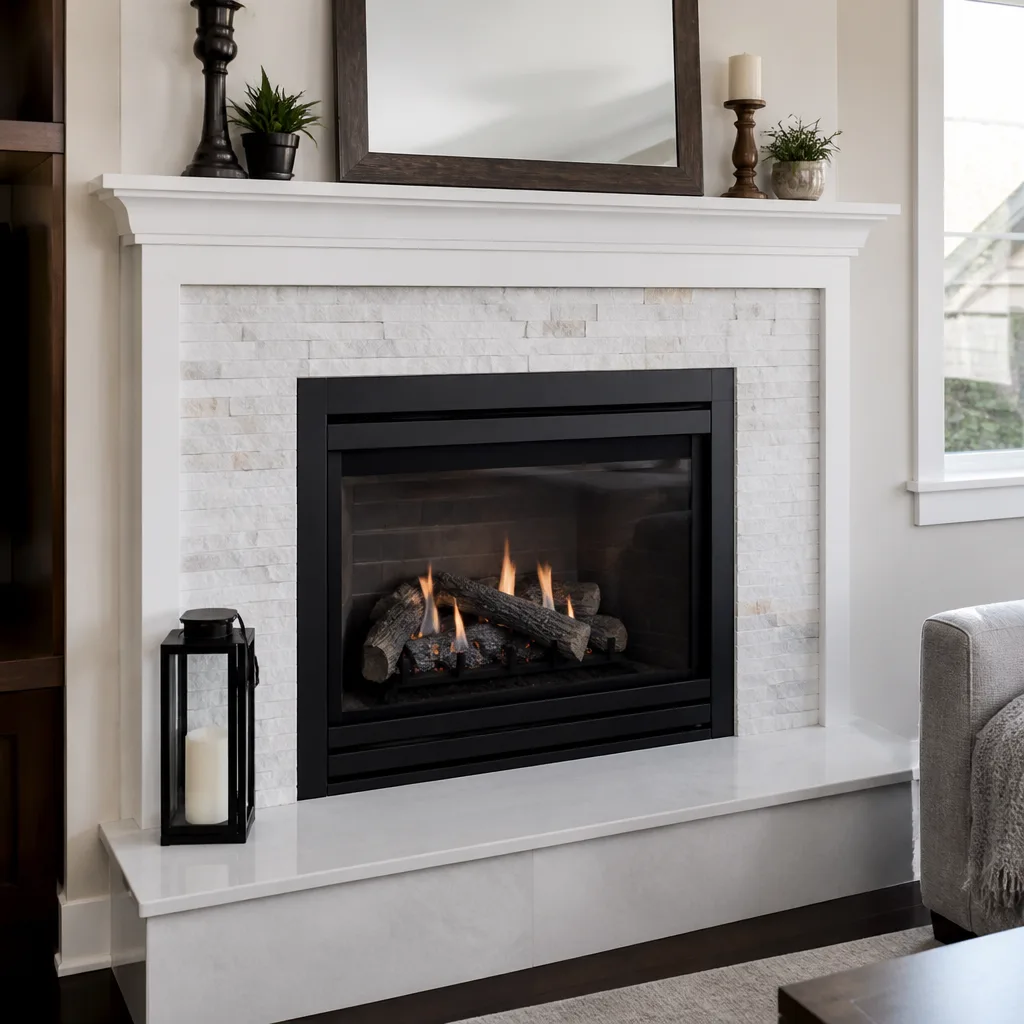
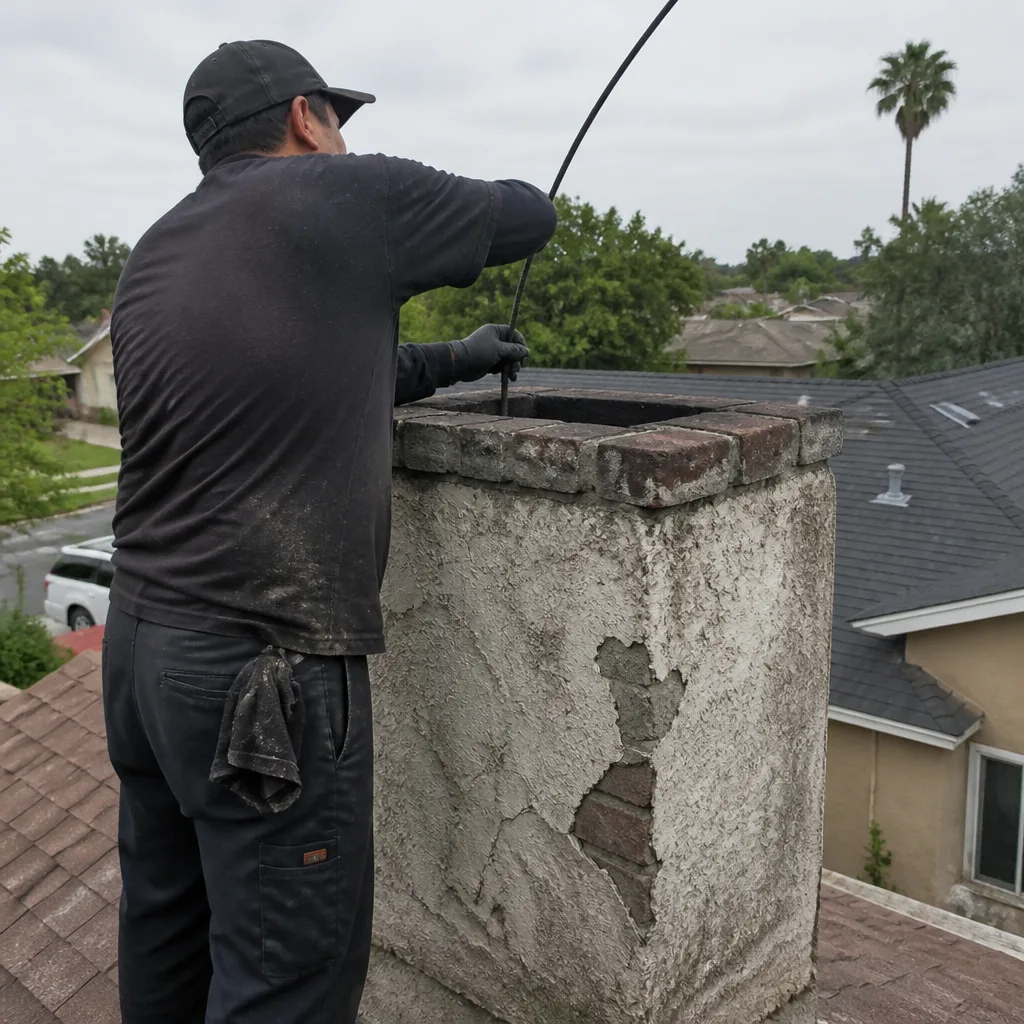 Before
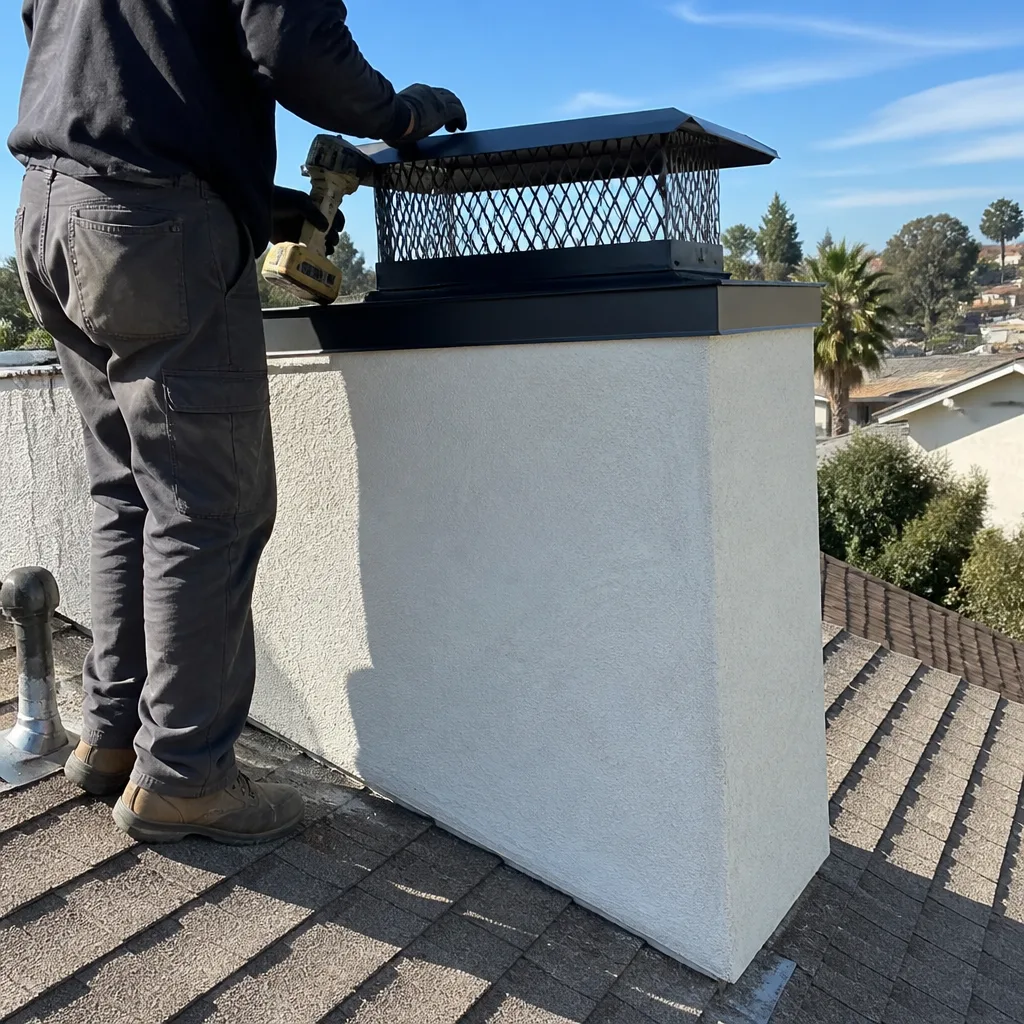 After
After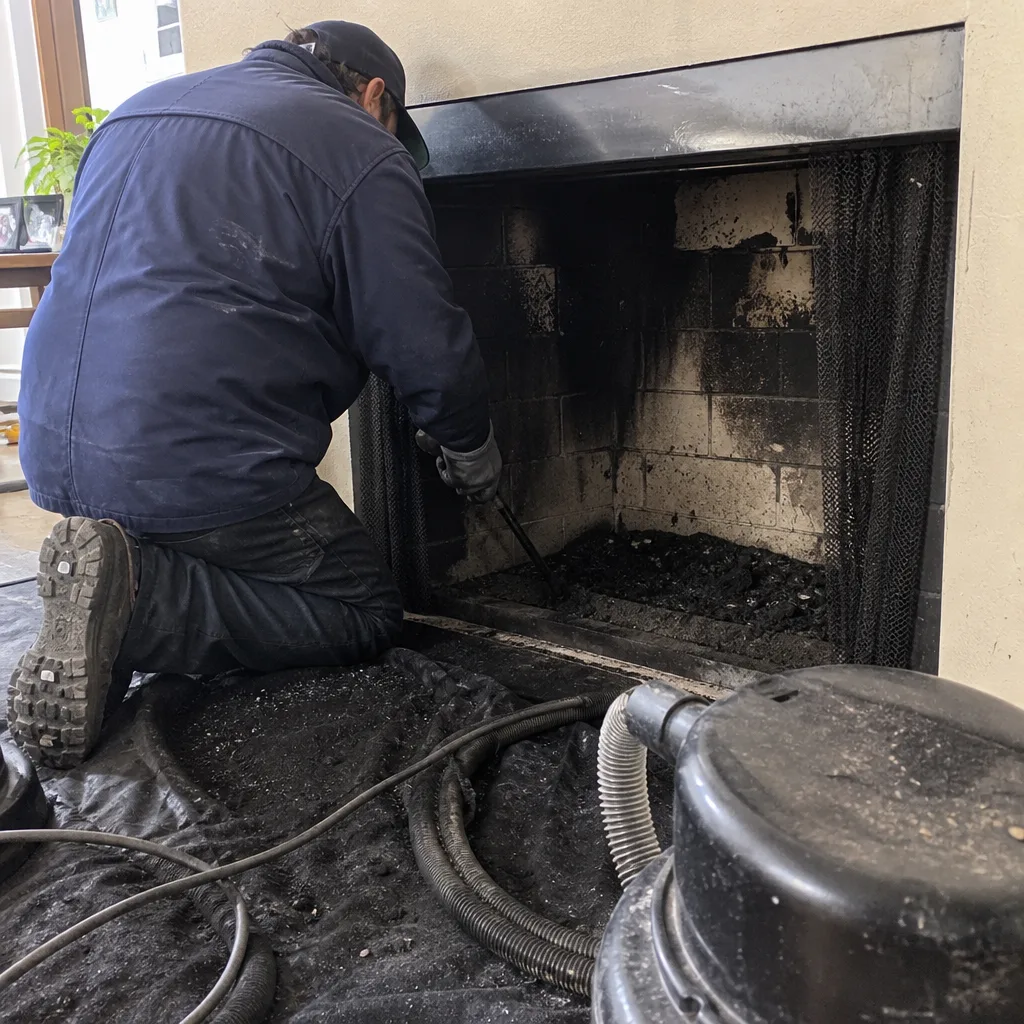 Before
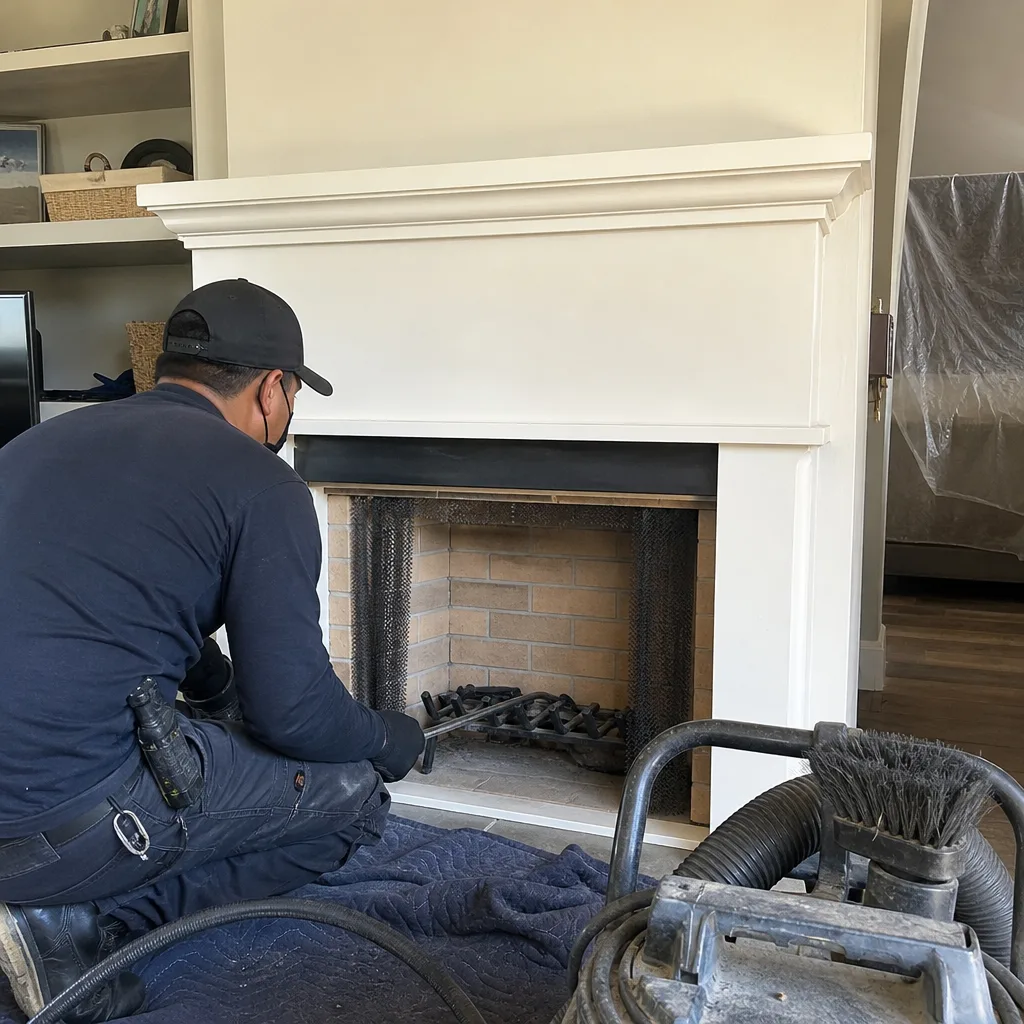 After
After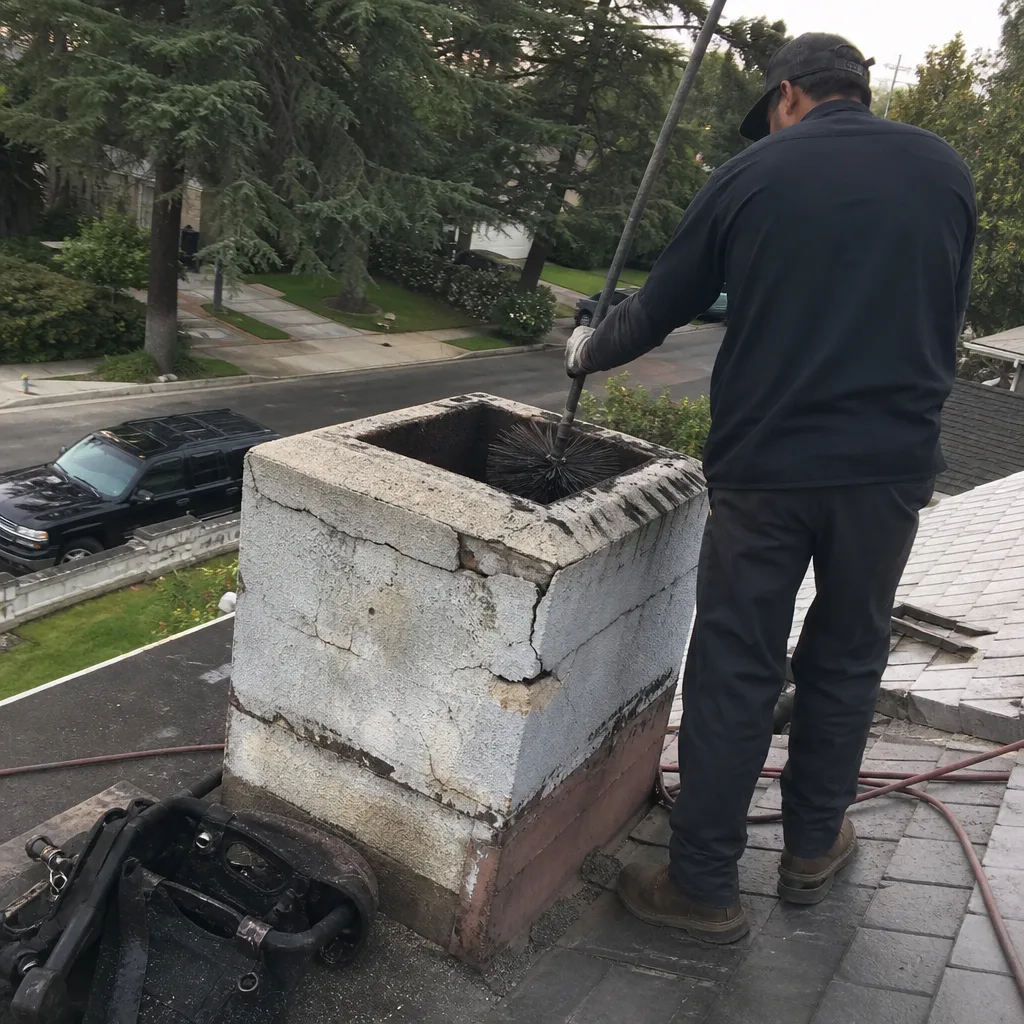 Before
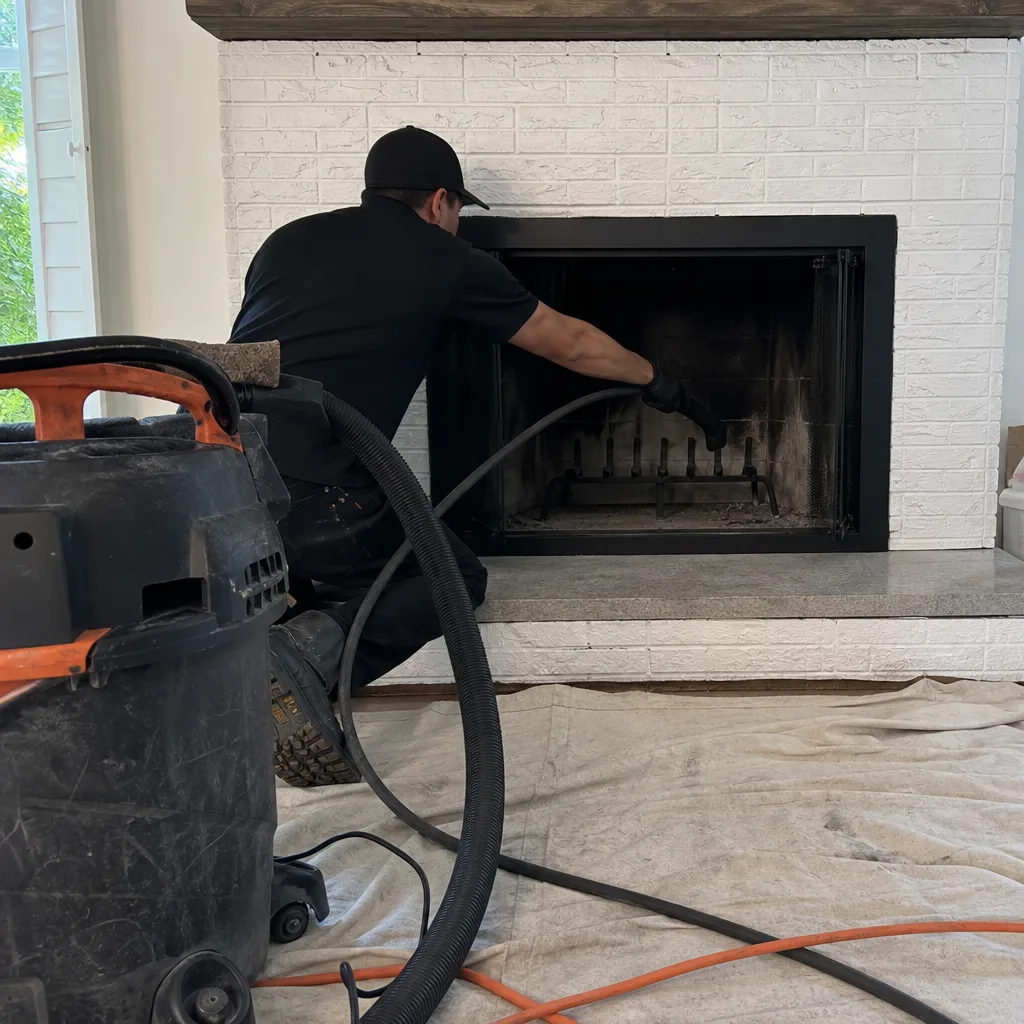 After
AfterGas Fireplace Repair Troubleshooting: Common Problems and How to Fix Them
Here’s a number that surprises most Los Angeles homeowners: roughly 70% of the gas fireplace repair calls we field could have been diagnosed in ten minutes with a multimeter and the right sequence of checks. The problem isn’t lack of information; it’s too much of the wrong kind. Most online guides throw symptoms at you like a dartboard – try this, try that – without explaining that gas fireplace troubleshooting follows a strict diagnostic order. Skip a step, and you might replace a perfectly good thermocouple while a dangerous gas pressure issue goes undetected. In this guide, we’ll walk through the actual decision tree that trained technicians use, explain when each check is safe to perform yourself, and flag the exact points where calling our Gas Fireplace Repair services protects you from injury or code violations.
Quick Answer
Most gas fireplace problems trace to four systems in this order: gas supply, ignition, flame sensing (thermocouple/thermopile), and gas valve. A standing pilot that lights but won’t stay lit usually indicates a failing thermocouple generating below 25 millivolts, though low gas pressure or a dirty connection can mimic the same symptom. Modern IPI (intermittent pilot ignition) systems add circuit boards and remote error codes to the diagnostic path. For deeper context, see our post on Gas Fireplace Repair Warning Signs Every Homeowner Should Know.
Table of Contents
- Know Your System: Standing Pilot vs. IPI
- Step 1: Verify Gas Supply
- Step 2: Test Ignition
- Step 3: Check the Thermocouple or Thermopile
- Step 4: Evaluate Gas Valve and Controls
- Decoding Remote and Wall Switch Error Codes
- Los Angeles Climate and Code Considerations
- Common Mistakes to Avoid
- When to Call a Professional
- Frequently Asked Questions
Know Your System: Standing Pilot vs. IPI
Before you touch a single screw, you need to know which ignition system your fireplace uses. The troubleshooting paths diverge completely from this point.
Standing pilot systems keep a small flame burning continuously. You’ll see the pilot lit even when the fireplace is off. These are common in units built before 2010 and in many vent-free models. The pilot flame heats a thermocouple – a safety device that generates a small electrical current to hold the gas valve open. No pilot heat means no current means the valve snaps shut. It’s a simple, mechanical safety loop.
IPI systems (intermittent pilot ignition) light the pilot only when you call for heat. A spark igniter fires, the pilot proves itself through a flame sensor, then the main burner ignites. These systems use circuit boards, often communicate through a remote or wall switch, and display error codes when something fails. Most units installed in Los Angeles after 2012 use IPI for energy efficiency, since California’s Title 24 energy standards strongly favor systems that don’t waste gas on a continuous pilot.
Here’s how to tell which you have: look at the pilot assembly with the fireplace off. Flame visible? Standing pilot. No flame, but you hear a clicking sound when you press the remote? IPI. If your unit has a remote control with a display screen or LED indicators, it’s almost certainly IPI.
This distinction matters because a standing pilot problem is usually mechanical – clean it, adjust it, replace a $15 thermocouple. An IPI problem might be a failed igniter, a bad flame sensor, a circuit board issue, or simply dead batteries in the remote. The diagnostic logic is different, and so is the safety risk.
Step 1: Verify Gas Supply
Every diagnostic sequence starts here, and most homeowners skip it. If gas pressure or volume is insufficient, nothing downstream will work correctly, and you’ll chase phantom ignition problems while the real culprit hides in plain sight.
Check these in order:
- Confirm the gas valve is fully open. The shutoff valve near the fireplace (usually a lever or round knob) should be parallel to the gas line. A half-open valve restricts flow and causes weak flames, delayed ignition, or pilot dropout under load.
- Verify other gas appliances work normally. If your furnace, water heater, and stove all behave strangely, you may have a utility-side pressure problem or a partially closed main valve. In Los Angeles, SoCalGas maintains distribution pressure, but earthquakes, construction, or main line work can cause temporary fluctuations. During Santa Ana wind events, we’ve seen pilot outages spike across the San Fernando Valley when pressure regulators struggle with rapid barometric changes.
- Check for the rotten-egg odor of added mercaptan. Any gas smell near the fireplace, even faint, means stop immediately. Do not operate any switches or create sparks. Evacuate and call SoCalGas at(336) 863-3889 from outside the home. This is not a troubleshooting step; it’s an emergency protocol.
- Inspect flexible gas connectors for kinks or corrosion. Older brass connectors (pre-2000) can crack. In Los Angeles, where many homes have been renovated multiple times, we’ve found fireplaces with improvised connectors routed through cabinets or walls in violation of California Plumbing Code Chapter 12. A pinched connector acts like a partial valve closure.
When to stop and call: If you smell gas at any point, if you find corrosion on gas piping, or if other appliances also show pressure symptoms. Gas pressure testing requires a manometer and training. Incorrect reassembly after any gas connection work creates leak risks that a homeowner cannot safely verify.
Step 2: Test Ignition
With gas supply confirmed, move to the ignition system. The specific tests depend on your system type.
Standing pilot ignition:
- Depress the pilot valve button and hold it. This manually opens gas flow to the pilot circuit.
- Light the pilot with a long match or igniter. Continue holding the button for 30 – 60 seconds. This allows the thermocouple to heat and generate sufficient millivoltage to hold the valve solenoid open.
- Release the button slowly. If the pilot dies immediately, the thermocouple isn’t generating enough current, or the gas valve solenoid is failing. If the pilot stays lit but the main burner won’t ignite on a call for heat, the problem moves to the valve or control circuit.
IPI ignition:
- Verify remote batteries and wall switch function. Weak batteries cause weak spark or no spark. We’ve seen homeowners in Pasadena replace circuit boards when the fix was fresh AAAs.
- Listen for the spark igniter click. No click after the gas valve opens suggests a bad igniter, bad connection to the circuit board, or board failure. The click should be sharp and rapid – one or two clicks per second.
- Watch for pilot ignition. If you hear clicking but no pilot flame appears, check for spider webs in the pilot orifice. In Los Angeles, black widow spiders favor the protected, warm environment of unused pilot assemblies. A blocked orifice passes no gas despite correct pressure.
When to stop and call: If the igniter sparks but no gas reaches the pilot, or if you see sparking outside the pilot hood. Misdirected spark can ignite gas accumulating in the firebox. Also call if you’ve replaced batteries and the remote still shows no response – circuit board diagnostics require specialized tools.
Step 3: Check the Thermocouple or Thermopile
This is where most DIY troubleshooting goes wrong. The thermocouple is a $15 part, and replacing it is tempting. But a new thermocouple won’t fix low gas pressure, a dirty connection, or a failing gas valve solenoid. Test before you replace.
What the thermocouple does: Two dissimilar metals joined at a tip generate a small electrical current when heated. This current – measured in millivolts – energizes a solenoid in the gas valve, holding it open. No heat, no current, no gas flow. It’s a fail-safe by design.
Testing with a multimeter:
- Set your multimeter to DC millivolts.
- Disconnect the thermocouple from the gas valve. Connect one probe to the thermocouple tip (the part in the pilot flame), the other to the copper tube or connection end.
- Have a helper depress the pilot valve to allow gas flow, or manually heat the tip with a separate flame source.
- Read the voltage. A healthy thermocouple in a proper pilot flame generates 25 – 35 millivolts. Below 20 mV, the solenoid may not hold reliably. Below 15 mV, replacement is definite.
Critical distinction: If your thermocouple reads 28 mV but the pilot still drops out, the problem is likely the gas valve solenoid or low gas pressure causing a weak pilot flame that can’t maintain adequate tip temperature. We’ve seen this exact scenario in older Los Angeles hillside homes where long gas runs and elevation reduce delivered pressure.
Thermopiles vs. thermocouples: Some standing pilot systems, and most millivolt-controlled remote systems, use a thermopile – essentially multiple thermocouples stacked to generate higher voltage (250 – 750 mV). These power the main gas valve directly. Testing procedure is similar, but expected voltage is ten times higher. A thermopile reading 200 mV or below won’t reliably open the main valve, especially in cold starts.
Cleaning before replacing: Sometimes the fix is free. Remove the thermocouple (it typically unscrews with a 7/16″ wrench), clean the tip with fine steel wool or a dollar bill (the fibers are mildly abrasive without being destructive), and check that the pilot flame impinges directly on the tip. A flame that’s too small, too large, or misdirected gives false low readings.
When to stop and call: If you don’t own a multimeter or can’t safely access the thermocouple without disassembling gas connections. If readings are normal but symptoms persist. If the thermocouple is integral to a pilot assembly that requires reassembly with specific positioning.
Step 4: Evaluate Gas Valve and Controls
Gas valves fail less often than thermocouples, but when they do, the repair crosses into professional territory. Here’s how to recognize valve problems without disassembling the valve itself.
Solenoid failure signs: The thermocouple tests at 30 mV, the pilot flame looks healthy, but the pilot drops out the instant you release the valve button. This means the solenoid coil isn’t holding, either from internal wear or from inadequate voltage reaching it. Check the connection point first – corrosion at the thermocouple terminal blocks voltage transfer. If cleaning doesn’t help, the valve needs replacement.
Main valve failure signs: Pilot stays lit, but the main burner won’t fire, or fires briefly then shuts down. With a thermopile system, verify the thermopile generates at least 325 mV under load (while calling for heat). Below this, the main valve solenoid won’t hold. If voltage is adequate and the burner still won’t sustain, the valve’s main operator has failed.
Modulating valve issues: High-efficiency units often use valves that adjust flame height based on thermostat demand. These contain additional solenoids and electronics. Flames that surge, hunt between high and low, or fail to modulate smoothly suggest valve or control board problems beyond homeowner repair.
California code note: Los Angeles County and most incorporated cities require a permit for gas valve replacement, and the work must be performed by a licensed contractor. The California Mechanical Code Section 304.1 specifies that gas appliance repairs affecting the fuel train require inspection. This isn’t red tape; it’s verification that your repair won’t leak or create combustion hazards in a seismic zone.
At Gas Fireplace Repair in Los Angeles, we carry replacement valves and components from professional trade brands including Olympia Chimney and Gelco, specified for California gas compositions and pressure regimes. We also handle permit coordination for Los Angeles County jurisdictions.
When to stop and call: Before disassembling any gas valve. These are precision devices with specific torque settings, seal configurations, and orientation requirements. Incorrect reassembly causes gas leaks that you cannot detect without a combustible gas analyzer.
Decoding Remote and Wall Switch Error Codes
Modern IPI systems communicate through digital interfaces, and the error codes are often cryptic. Here’s what the most common ones actually mean.
No display / dead remote: Replace batteries in both the remote and the receiver (usually a small box wired near the fireplace). The receiver batteries are easy to overlook. If new batteries don’t restore function, the RF pairing may have been lost – a common issue after power outages in Los Angeles, where SCE’s grid can be temperamental during Santa Ana wind shutdowns.
“E1” or similar ignition failure codes: The system attempted to light the pilot, failed after three attempts, and locked out. Causes: no gas, blocked orifice, weak spark, or bad flame sensor. Wait five minutes for the lockout to clear, then try again while observing the pilot area. No spark? Bad igniter or board. Spark but no flame? Gas or orifice problem. Flame but immediate dropout? Flame sensor not detecting – clean or replace.
Flame present but “no flame” error: The flame sensor isn’t seeing what the pilot is producing. Causes: sensor out of position, cracked ceramic insulator, or carbon buildup on the sensing rod. The rod sits in the pilot flame; clean it with fine abrasive paper. Do not bend it – the gap to ground is calibrated.
Continuous fan without flame: The system thinks it’s in cooldown, or the wall switch is miswired. Some units default to fan-only if the high-limit switch has tripped from overheating. Check for blocked vents or excessive dust in Los Angeles homes where Santa Ana winds drive fine particulate through every gap.
Intermittent operation only during high demand: This pattern often indicates low gas pressure that meets minimums at idle but drops below valve tolerance when the main burner calls for full flow. A manometer test during operation confirms it. We’ve traced this to undersized gas lines in Los Angeles additions where the original fireplace was upsized without upgrading the supply.
When to stop and call: If error codes persist after basic steps, or if the same code returns within 24 hours. Repeated lockouts stress ignition components and can damage the circuit board. Also call for any code involving “gas leak detected” – some premium units have internal methane sensors that trigger shutdown.
Los Angeles Climate and Code Considerations
Local conditions shape gas fireplace problems in specific ways that generic guides miss.
Earthquake valve requirements: Los Angeles buildings require seismic gas shutoff valves on many gas lines. These valves trip during significant ground movement and must be manually reset. After any tremor you feel, or if your fireplace and other gas appliances all fail simultaneously, check whether your earthquake valve has tripped. Resetting is simple – a visible button or lever – but if it trips repeatedly without seismic activity, the valve may be oversensitive or incorrectly installed.
Santa Ana wind particulate: The hot, dry winds that rake Los Angeles counties carry extraordinary dust loads. We see elevated rates of pilot orifice clogging and oxygen depletion sensor fouling during Santa Ana events, particularly in foothill communities from Glendale to Claremont. If your fireplace fails only during wind events, particulate intrusion is likely.
Altitude effects: Homes above 1,000 feet in the Santa Monica Mountains, Verdugo Hills, or San Gabriel foothills experience reduced atmospheric pressure. Gas appliances are derated for altitude, and some valves require orifice changes to compensate. A fireplace that worked fine at sea level in Venice may behave differently after relocation to Topanga or Altadena.
Title 24 and efficiency standards: California’s energy code has pushed fireplace manufacturers toward IPI and electronic controls. Older standing pilot units can still be repaired, but replacement parts for pre-2010 models are increasingly scarce. When we evaluate repair versus replacement for Los Angeles homeowners, we factor parts availability against the 365-Day Done Right Promise – we won’t commit to a repair we can’t guarantee.
HOA and historic district constraints: In neighborhoods like Hancock Park, West Adams, or Pasadena’s Landmark District, exterior modifications for venting may require architectural review. Gas fireplace repair that stays within existing venting avoids these delays, which is why accurate diagnosis matters – an incorrect “needs replacement” call triggers unnecessary bureaucracy.
Common Mistakes to Avoid
- Replacing the thermocouple without testing gas pressure first. A new thermocouple will light and then fail exactly like the old one if the root cause is a gas delivery problem. We see this in Los Angeles hillside homes where long lateral runs create pressure drop under main burner load.
- Using compressed air to clean a pilot orifice. The orifice is drilled to precise diameter; forcing debris through it can enlarge the hole and create a dangerously rich flame. Use a proper orifice cleaner or replace the pilot assembly.
- Ignoring the difference between thermocouple and thermopile voltage ranges. A “good” 30 mV reading on a thermopile is actually a failed component. Always verify which device your system uses before interpreting test results.
- Disassembling gas valves to “clean” them. Internal seals, springs, and diaphragms require factory calibration. Reassembly without proper tools and testing creates leak risks. Los Angeles municipal code requires licensed contractor involvement for this work.
- Assuming all remotes use the same pairing procedure. Factory reset sequences vary by manufacturer. Incorrect attempts can lock the receiver, requiring a service call that was otherwise unnecessary.
- Overlooking the simple fix. In our experience across Los Angeles County, about 15% of “broken” gas fireplaces simply need fresh remote batteries, a fully open shutoff valve, or removal of a spider web from the pilot. Start simple, verify systematically.
When to Call a Professional
Stop your troubleshooting and call a licensed technician if you smell gas at any point, if error codes involve leak detection, if the earthquake valve has tripped and you don’t know why, or if you’ve reached the gas valve evaluation stage without identifying the problem. Gas pressure testing, valve replacement, and combustion analysis require equipment and training that protect you from fire, explosion, and carbon monoxide hazards. Curious about inspection timing? Read How Long Does Chimney Inspection Take? Timelines and What to Expect.
At Alcott Chimney Sweep, every technician is Threshold Verified – background-checked, identity-verified, and sent to you by name and photo before arrival. You’ll know exactly who is coming before the truck reaches your driveway. We provide a written price before any work begins, and every repair carries our 365-Day Done Right Promise: if the repair fails, the second visit is free. We carry professional trade materials from brands like DuraFlex and HeatShield, and we coordinate permits for Los Angeles County gas valve work.
Alcott Chimney Sweep home | Call (336) 863-3889 for a free estimate on gas fireplace repair in Los Angeles.
Frequently Asked Questions
Most repairs fall between $180 and $450, with thermocouple replacements at the lower end and gas valve or circuit board work at the higher end. We provide a written price before any work starts, and our 365-Day Done Right Promise covers every repair at no extra charge. For more guides & resources, visit our blog, or call (336) 863-3889 for an exact quote – estimates are free.
A pilot that lights but won’t stay lit is usually a failing thermocouple generating below 25 millivolts, though low gas pressure, a dirty connection, or a failing gas valve solenoid can produce identical symptoms. Test the thermocouple with a multimeter before replacing it. If readings are normal and the problem persists, call for professional gas pressure testing.
Annual inspection is the standard recommendation from the National Fireplace Institute and the Chimney Safety Institute of America. In Los Angeles, where Santa Ana winds carry heavy particulate and many units sit unused for months, annual service prevents orifice clogging and verifies that safety systems function before you need heat. We include combustion analysis and venting inspection in our gas fireplace service.
Error codes indicate specific failure modes: ignition failure (no spark or no gas reaching pilot), flame sensing failure (pilot lights but system doesn’t detect it), or lockout from repeated failed attempts. The exact meaning varies by manufacturer. Check your owner’s manual for the specific code, try the basic reset procedure, and call if the code returns – repeated lockouts damage ignition components.
Surface cleaning of glass and visible surrounds is safe and recommended. Internal component cleaning – pilot orifices, flame sensors, burner ports – requires knowledge of proper techniques and reassembly torque. Incorrect cleaning enlarges orifices or mispositions sensors, creating combustion hazards. We recommend professional service for internal cleaning, especially in Los Angeles homes where dust and spider intrusion are elevated.
Gas valve replacement and any modification to the fuel train requires a permit and licensed contractor per California Mechanical Code Section 304.1. Simple repairs like thermocouple replacement on an accessible standing pilot typically do not. We handle permit coordination for all work that requires it, included in our standard service for Los Angeles County customers.
The Bottom Line
Gas fireplace troubleshooting follows a logical sequence – gas supply, ignition, flame sensing, valve controls – and skipping steps wastes money and risks missing dangerous conditions. Know whether you have a standing pilot or IPI system before you start. Test with a multimeter before you replace parts. Recognize the points where gas pressure testing, combustion analysis, and code-compliant valve work require professional tools and licensing. In Los Angeles, local conditions from Santa Ana particulate to altitude effects to Title 24 efficiency requirements shape both the problems you’ll see and the solutions that last. When the diagnostic path leads beyond basic checks, a licensed technician protects your safety and your compliance.
Chimney Sweep in Los Angeles | Chimney Inspection in Los Angeles
Written by Ruben Castellano, Owner at Alcott Chimney Sweep, serving Los Angeles since 2002.