
Last updated October 9, 2026
Level 1 sweep and inspection to the NFPA 211 annual standard - flue, crown, cap, and flashing checked and photographed
Chimney sweep logs do not sweep chimneys. They loosen some creosote - which then falls where a brush and vacuum still have to collect it.
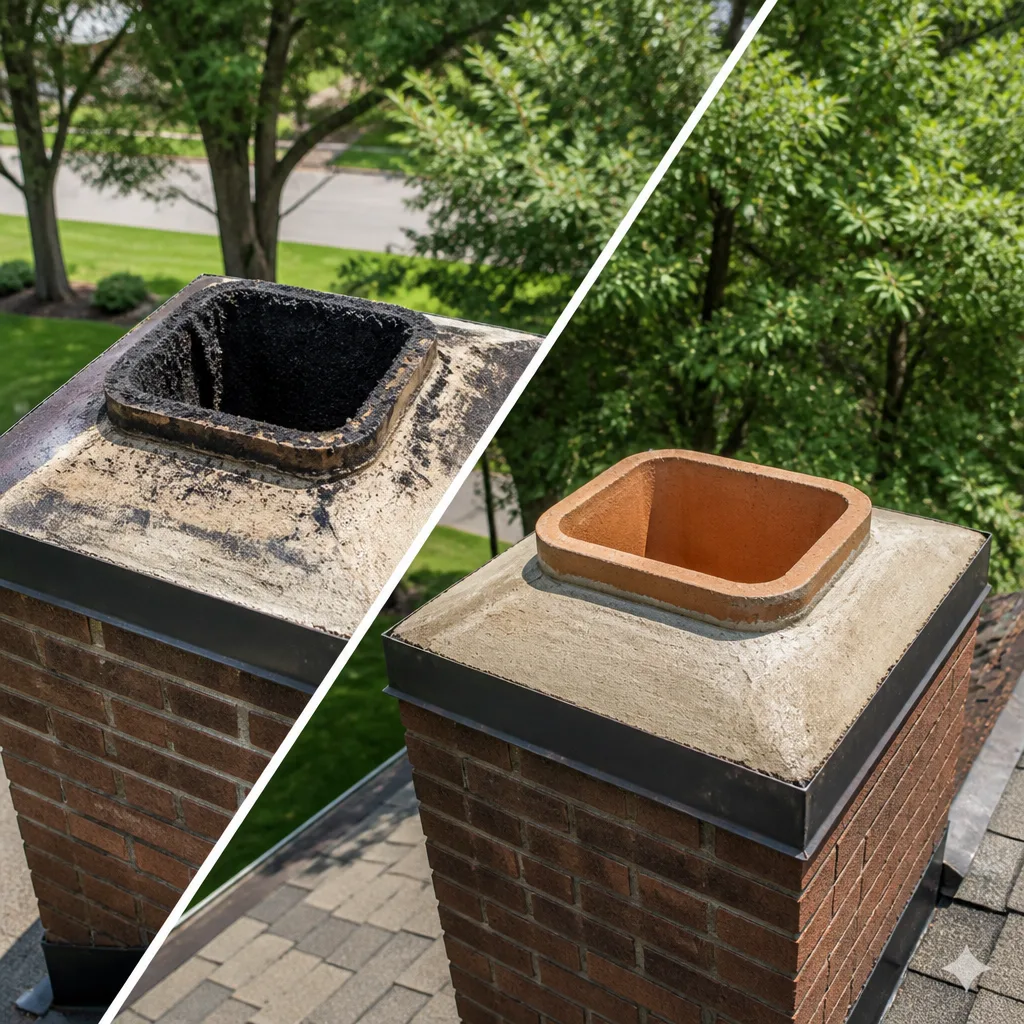
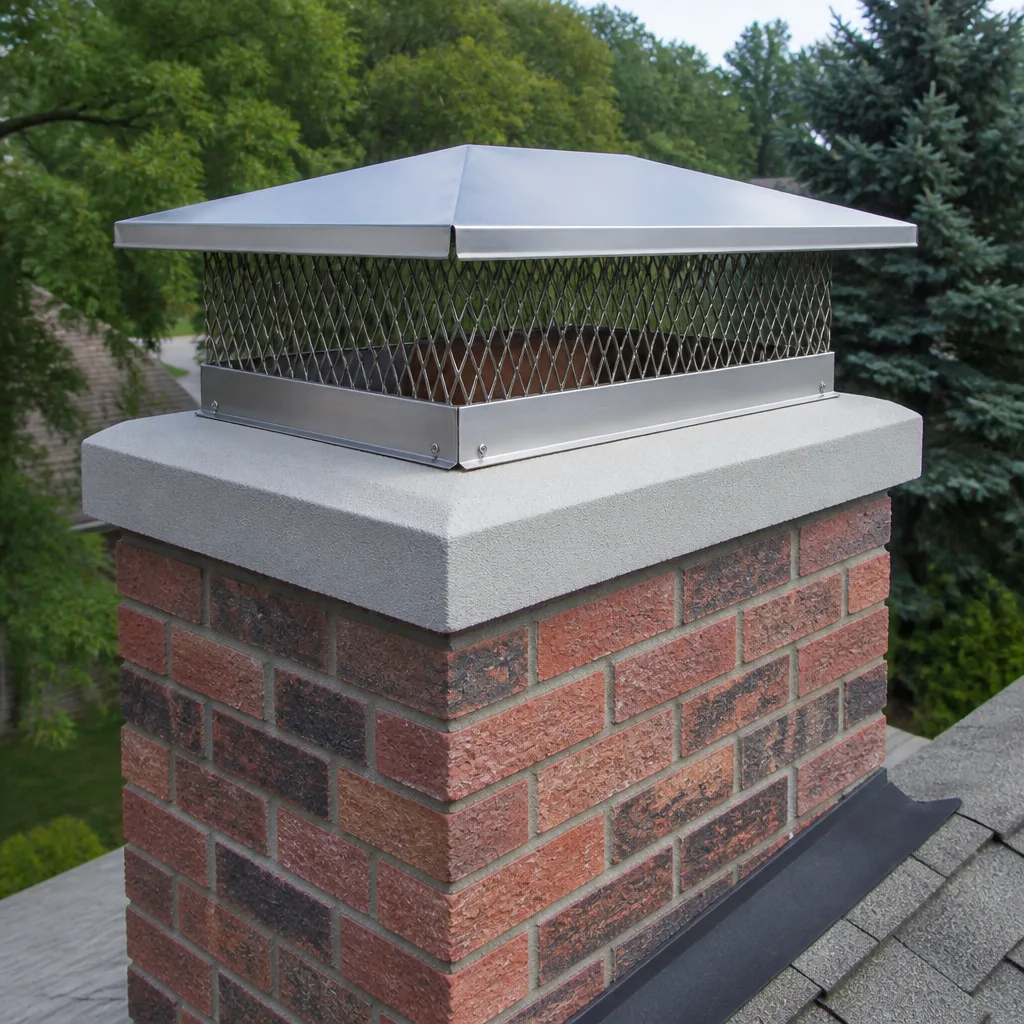
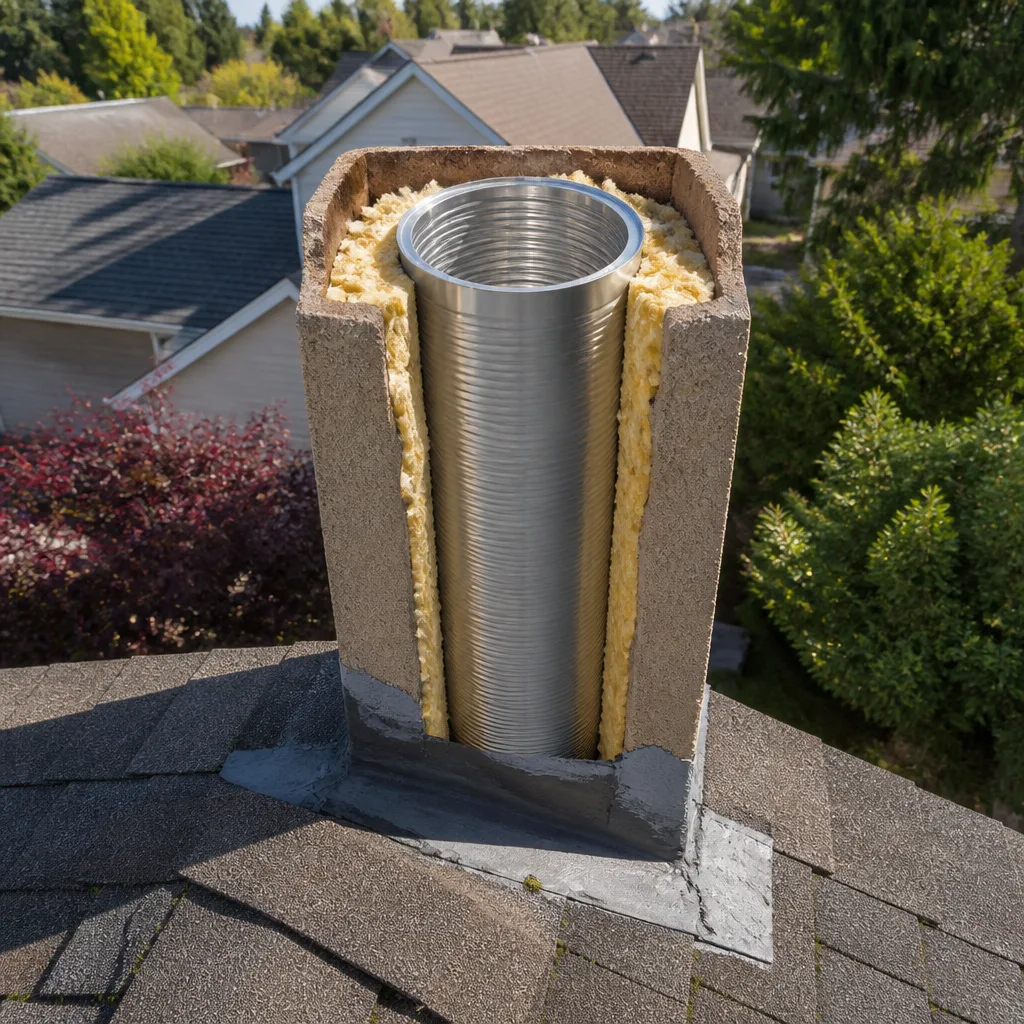
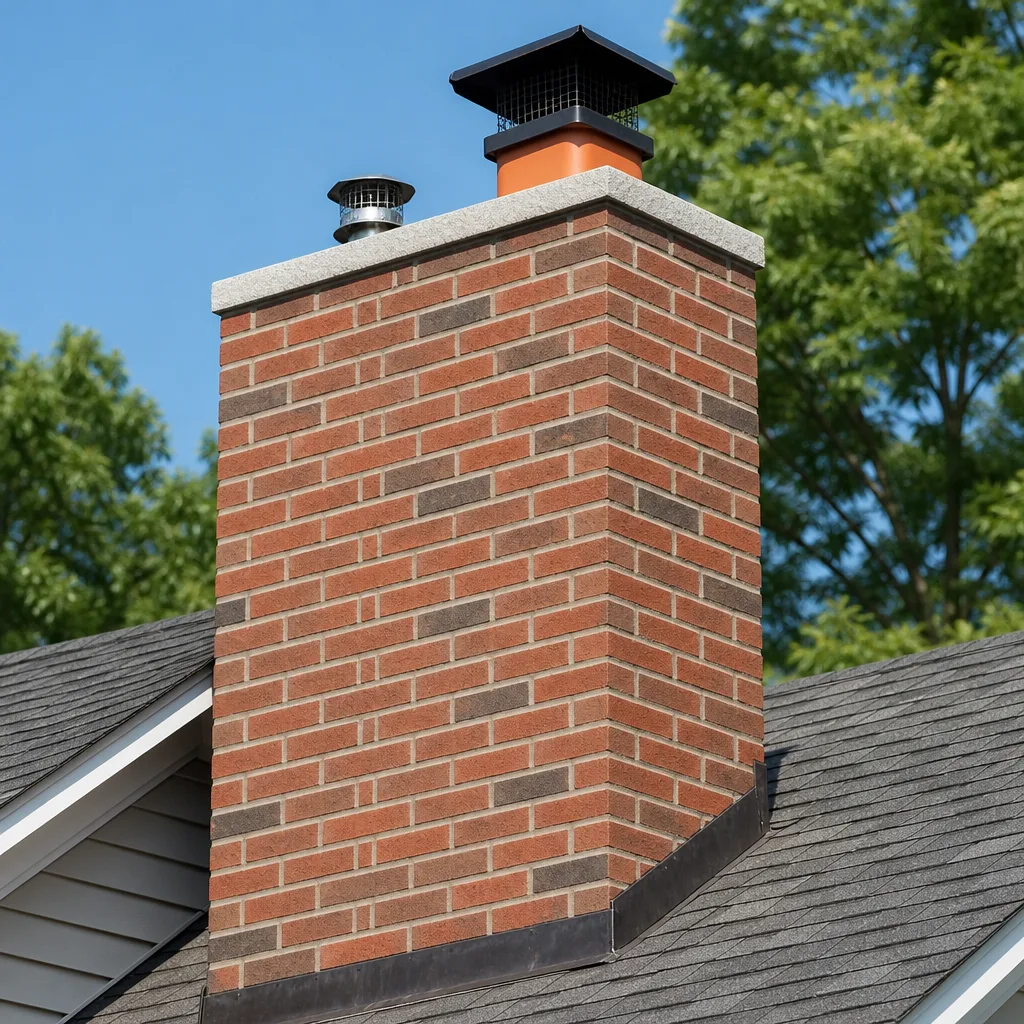
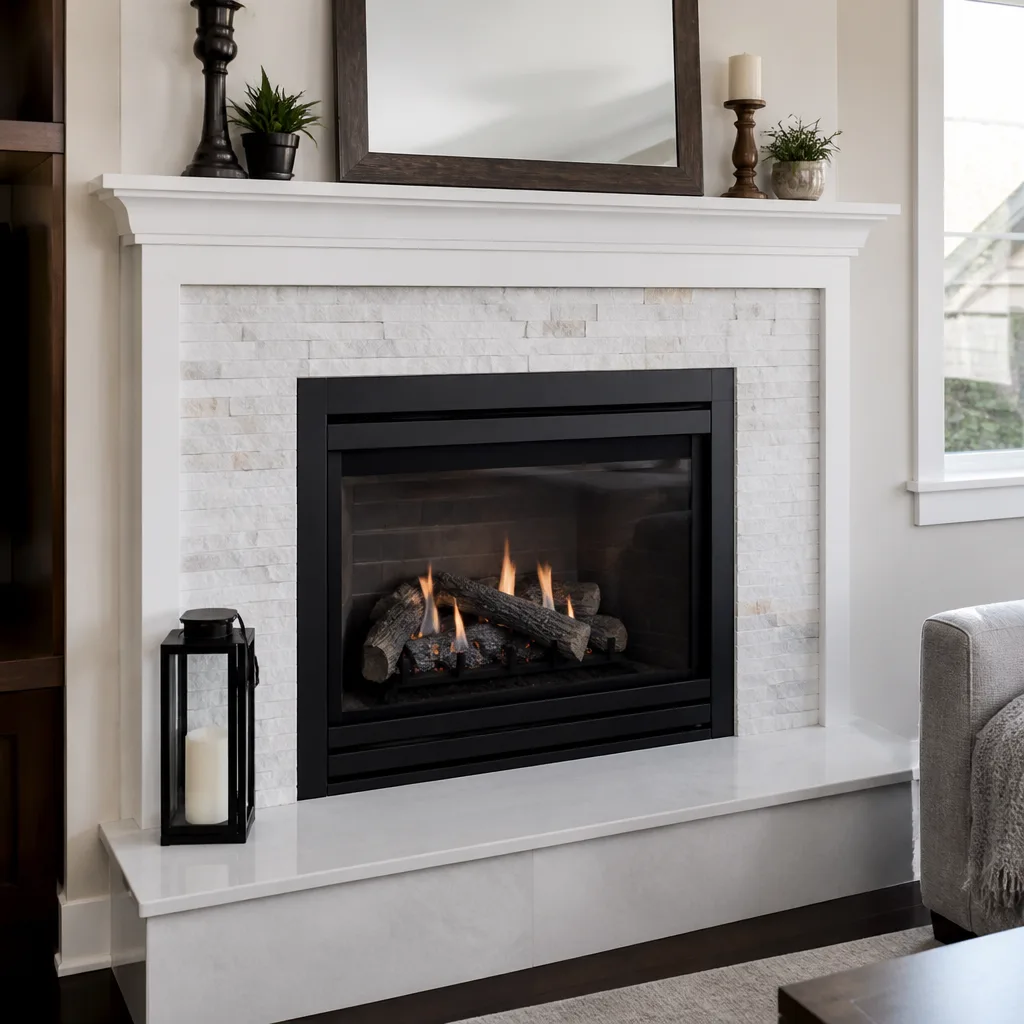
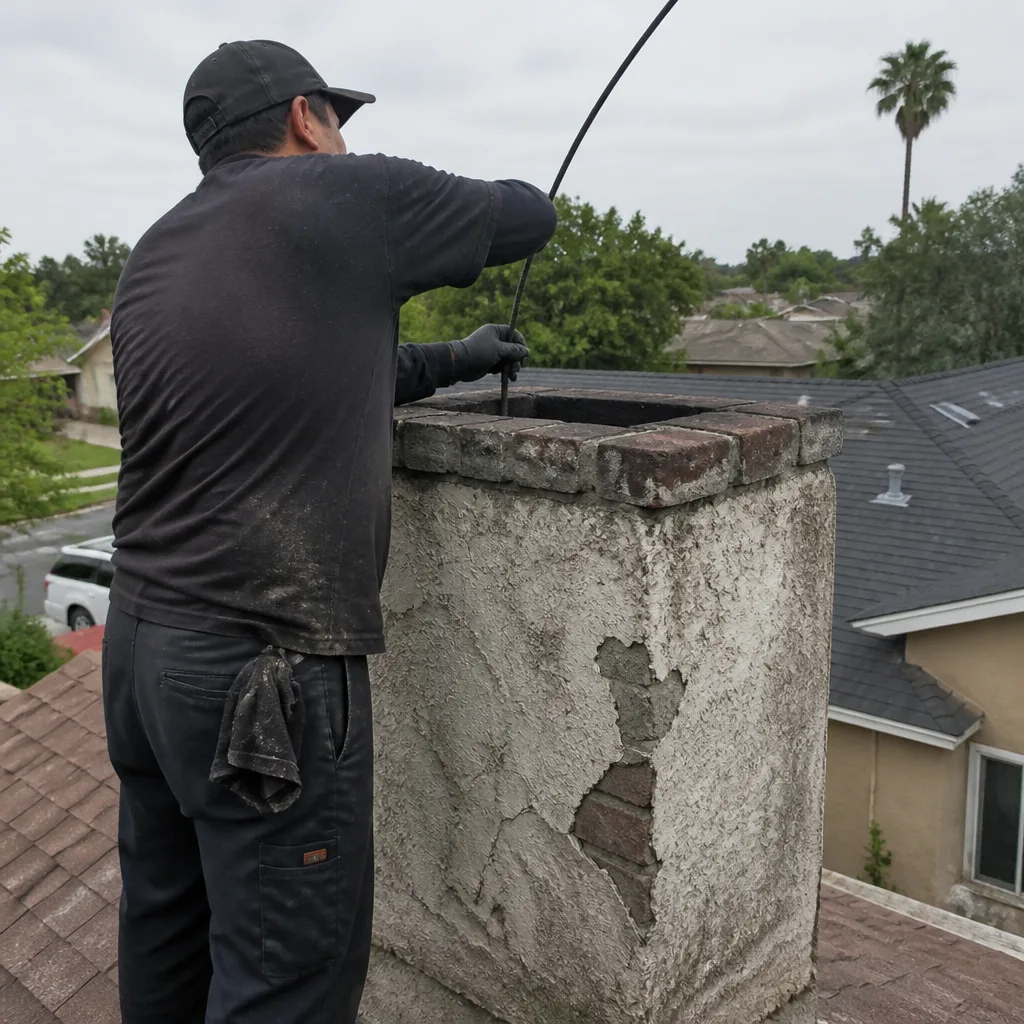 Before
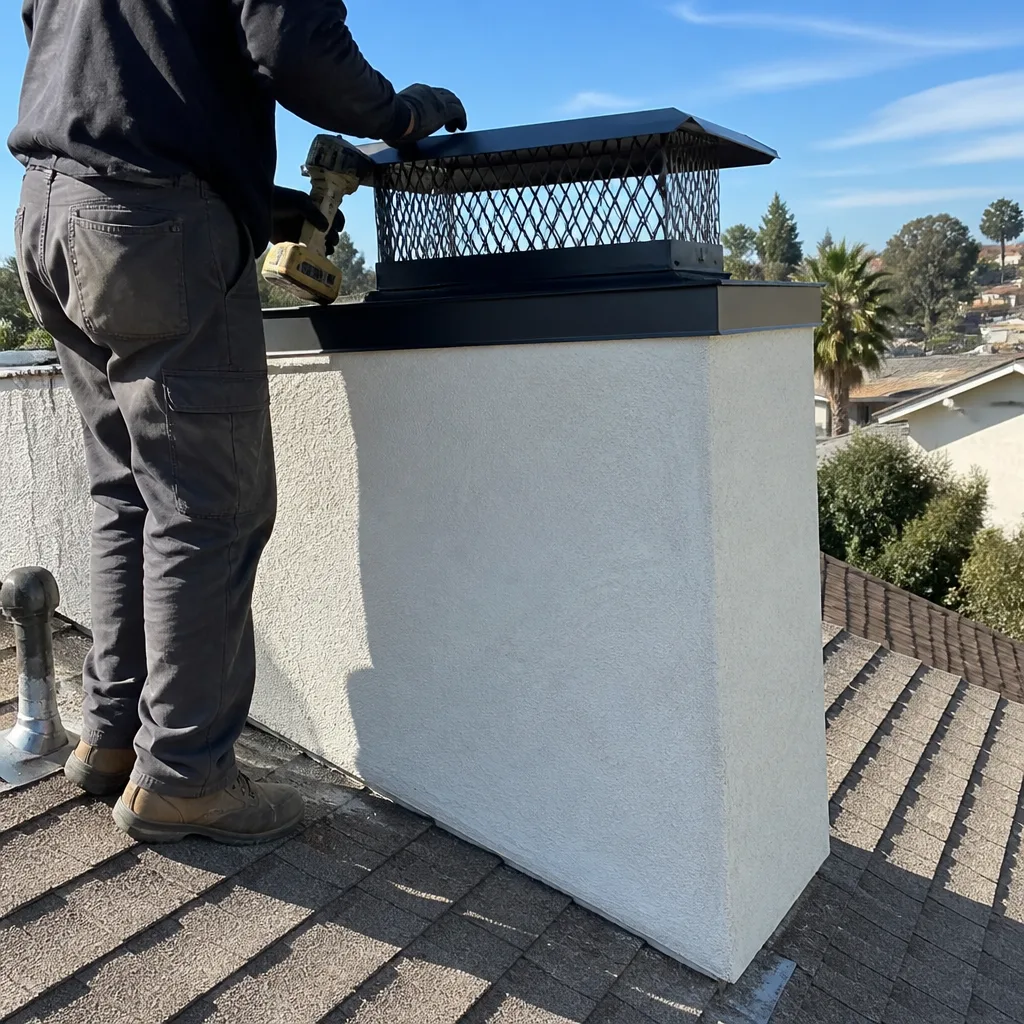 After
After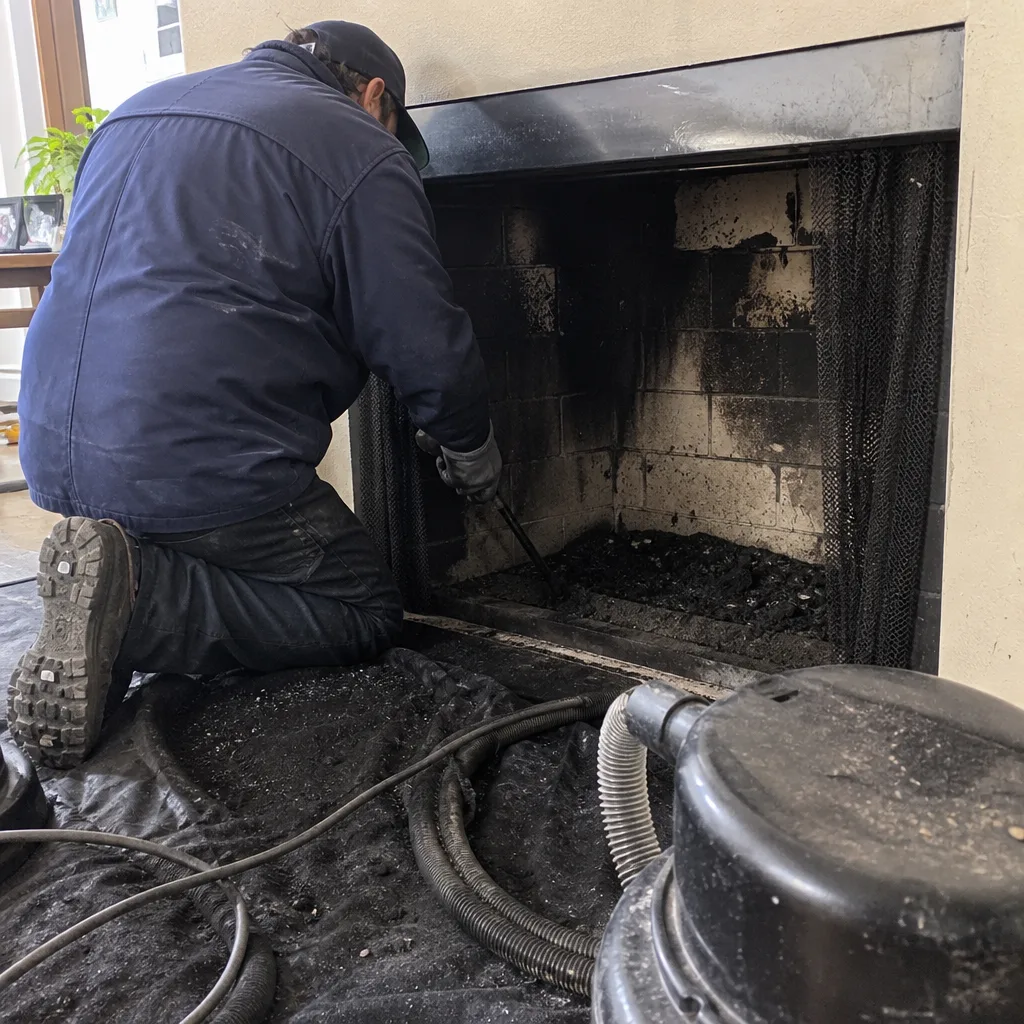 Before
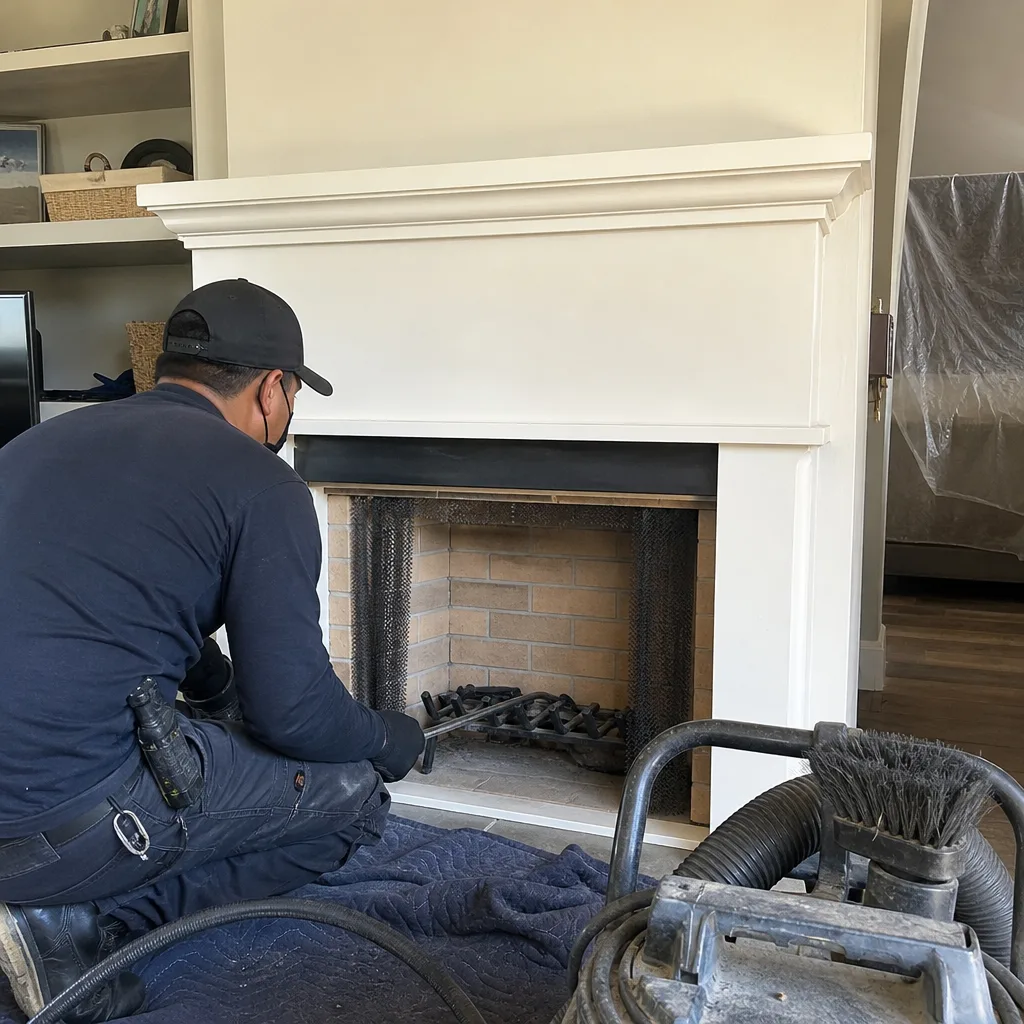 After
After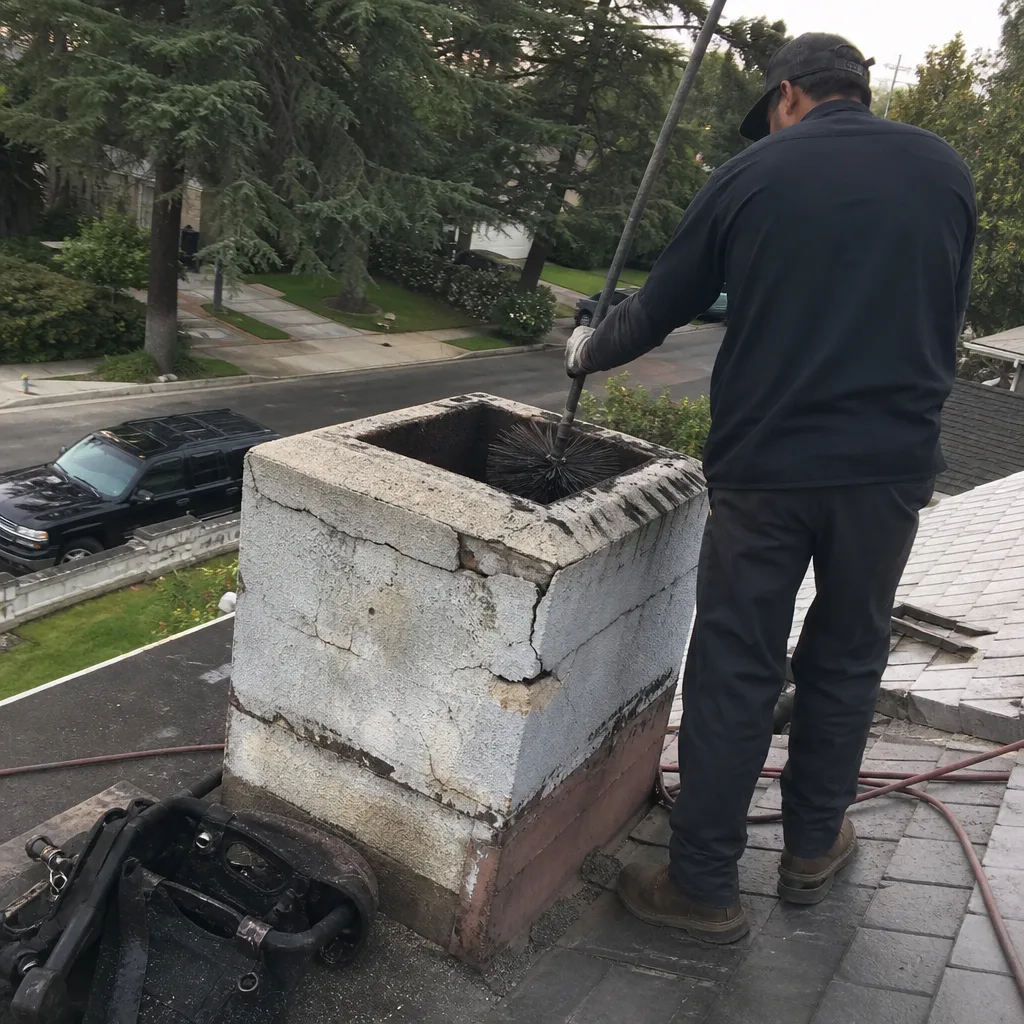 Before
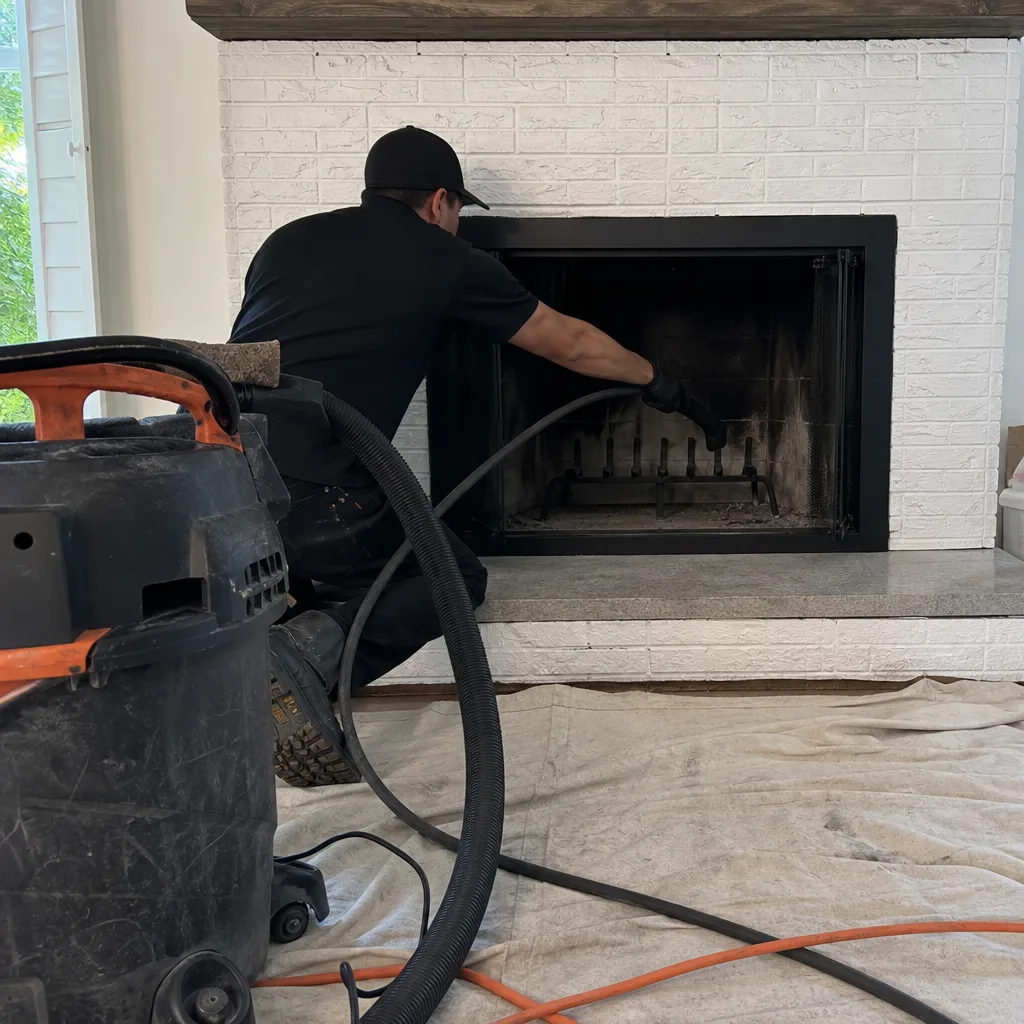 After
AfterDIY vs Professional Chimney Inspection: What’s Safe to Do Yourself
Here’s a number that surprises most homeowners: with a flashlight and a hand mirror, you can see roughly 15% of the inspection surface area that NFPA 211 requires for a Level 1 chimney inspection. The other 85% lives above your line of sight, behind masonry, or at roofline height where a fall risk changes everything. In Los Angeles, where our mild winters mean fireplaces often sit unused for eight or nine months, that gap between what you can see and what matters most has real consequences. This guide shows you exactly which 15% you can check yourself, what specific warning signs to look for, and where the line sits between a responsible homeowner check and our Chimney Inspection services with a trained technician and camera system.
Quick Answer
You can safely perform a basic visual check of your firebox walls, damper plate, and visible lower flue using a flashlight and mirror. Everything else, including the upper flue, smoke chamber, and exterior crown, requires professional camera equipment, roofline access, or trade knowledge to assess correctly. A DIY vs Professional Chimney Sweep: What’s Safe to Do Yourself visual check is useful for spotting obvious problems between professional visits, but it does not satisfy insurance requirements or replace a certified inspection.
Table of Contents
- What You Can Actually Inspect Yourself (The 15%)
- What You Cannot See Without Professional Equipment
- Step-by-Step: How to Perform a Homeowner Visual Check
- DIY Inspections and Your Homeowner’s Insurance
- How Your DIY Findings Can Shorten (and Reduce) a Professional Inspection
- The Between-Seasons Check: When DIY Is Actually the Right Call
- Common Mistakes to Avoid
- When to Call a Professional
- Frequently Asked Questions
What You Can Actually Inspect Yourself (The 15%)
The accessible portion of your chimney system sits in your fireplace opening and extends upward to the smoke shelf. This is where direct observation without special equipment ends. Here’s what a homeowner with basic tools can meaningfully assess.
The Firebox Walls and Hearth
Shine your flashlight across all interior surfaces of the firebox. Look for:
- Cracks in firebrick or refractory panels wider than a nickel
- Missing or spalling (flaking) mortar joints between bricks
- Discoloration or white efflorescence indicating moisture intrusion
- Gaps where the firebox meets the hearth or surrounding facing material
- Any metal components showing rust or deformation
In Los Angeles, our occasional heavy winter rains followed by long dry spells create a thermal cycling pattern that stresses firebox masonry differently than in consistently wet climates. We’ve seen more moisture-related spalling in Silver Lake and Los Feliz homes with older chimneys than in comparable structures in drier inland neighborhoods like Encino or Woodland Hills. If you spot white powdery deposits or hear a hollow sound when you tap firebrick with a screwdriver handle, that’s your cue to document it for a professional.
The Damper Plate and Frame
Open the damper fully. It should move smoothly without grinding or catching. Inspect the plate itself for:
- Warpage or cracks in metal dampers
- Corrosion that would prevent a complete seal when closed
- Debris or creosote buildup preventing full closure
- Missing or damaged gasket material on top-sealing dampers
A damper that won’t close completely is more than an efficiency problem in Los Angeles. During Santa Ana wind events, pressure differentials can pull conditioned air up the flue continuously. We’ve had homeowners in the Hollywood Hills report $40-60 monthly heating spikes traced to a warped damper they assumed was “good enough.”
The Smoke Shelf and Lower Flue Throat
This requires a hand mirror and a flashlight with some reach. Angle the mirror to see the horizontal smoke shelf surface and the vertical walls of the flue throat just above it. You’re looking for:
- Excessive creosote buildup (shiny, tar-like, or crusty black deposits)
- Nesting material, leaves, or other obstructions
- Visible cracks or gaps in the masonry throat walls
- Water staining indicating a leak path from above
The smoke shelf is where most chimney fires begin, but it’s also where a homeowner’s inspection ends. You cannot see past the first 12-18 inches of vertical flue without specialized equipment. That limitation matters enormously.
What You Cannot See Without Professional Equipment
The remaining 85% of inspection surface area includes components that are either physically inaccessible, require interpretation beyond visual observation, or present genuine safety hazards to an untrained person attempting access.
The Upper Flue Liner
Clay tile liners develop cracks from thermal shock, spalling from moisture freeze-thaw cycles, and mortar joint deterioration that progresses from top to bottom. In Los Angeles, our combination of marine layer moisture and intense summer heat creates expansion-contraction stress that accelerates clay tile failure compared to more stable climates. A cracked liner allows combustible gases to reach surrounding framing. You cannot assess liner condition from below. Professional inspection requires a chimney camera system, typically a self-leveling unit with LED lighting that transmits video to a monitor where the technician can document every joint, crack, and offset.
The Smoke Chamber
The smoke chamber is the inverted funnel between the firebox throat and the vertical flue. NFPA 211 requires smooth, sloping walls with no corbeling steps greater than specified dimensions. Rough or improperly parged smoke chamber surfaces create turbulence that reduces draft and increases creosote deposition. Assessing smoke chamber corbeling and surface condition requires either a camera inserted from above or visual access through a demolition opening. Neither is a homeowner-appropriate procedure.
The Exterior Crown, Cap, and Flashing
Roofline access introduces fall risk that changes the calculation entirely. Even single-story Los Angeles homes with Spanish tile or composite shingle roofs present slip hazards, and many neighborhoods from Pacific Palisades to Pasadena have significant grade changes that make ladder placement deceptive. Crown assessment requires close visual and physical inspection for cracks, proper overhang, and drip edge function. Flashing inspection requires understanding of proper integration with roofing materials. A homeowner with binoculars can spot obvious crown damage, but subtle cracks that admit water won’t be visible at distance.
Clearance to Combustibles
This is entirely non-observable without destructive investigation. Proper clearance between chimney structure and adjacent framing members is verified through measurement, not visual estimation. Los Angeles building codes have evolved significantly, and older homes in neighborhoods like Echo Park or Mid-City may have construction that predates current requirements. Only a professional inspection can determine whether hidden clearances meet code.
Step-by-Step: How to Perform a Homeowner Visual Check
Follow this procedure for a safe, productive pre-inspection that yields useful documentation without creating new problems.
- Wait 24 hours minimum after last fire. All surfaces must be cool. Attempting inspection with residual heat risks burns and disturbs ash that should remain settled.
- Remove grate and andirons. Clear the firebox completely for unobstructed viewing of all surfaces.
- Photograph the firebox before cleaning. Your documentation is most valuable when it shows actual conditions, not post-cleanup appearance.
- Open damper fully. Note any resistance, grinding, or incomplete travel. Photograph the open damper from below.
- Flashlight inspection of firebox walls. Systematically examine each wall, the floor, and the transition to the hearth extension. Photograph any cracks, spalling, or discoloration with a coin or ruler for scale.
- Mirror inspection of smoke shelf and throat. Use a hand mirror on an extendable handle. Angle to view the shelf surface and flue walls. Photograph visible creosote buildup or obstructions.
- Close damper and verify seal. Check for visible gaps of light from above. Note any incomplete closure.
- Exterior binocular check from ground level. Examine crown, cap, and visible flashing for obvious damage. Do not access the roof.
- Compile dated notes with photographs. Organize by location and concern level for reference during professional consultation.
This entire procedure takes 20-30 minutes for a typical Los Angeles fireplace. The documentation you produce will be genuinely useful to a professional technician, and the process itself familiarizes you with normal versus abnormal conditions in your specific chimney.
DIY Inspections and Your Homeowner’s Insurance
This is where the distinction between “I checked it myself” and “a professional inspected and documented it” becomes financially significant.
Most homeowner’s insurance policies in California do not explicitly require a professional chimney inspection for standard coverage. However, in the event of a chimney fire or carbon monoxide incident, claim adjusters routinely request documentation of maintenance and inspection history. A DIY visual check, even diligently performed and photographed, carries no certification weight. It demonstrates awareness but not professional verification of safe condition.
Where this matters most: if an insurer determines that damage resulted from “lack of maintenance” or “failure to address a known hazard,” your own photographs of a cracked firebox or creosote buildup can actually work against you. They prove you had knowledge of a condition and did not engage qualified remediation.
A written professional inspection report from a certified chimney sweep creates a defensible record. At Alcott Chimney Sweep, every inspection includes dated, signed documentation with photographic evidence and specific condition assessments. This report serves as evidence of due diligence if questions arise. For Los Angeles homeowners in brush-fire zones where additional scrutiny applies to any combustion-related claim, this documentation gap can be decisive.
The practical implication: perform your own visual checks between professional visits, but maintain professional inspection documentation on a schedule appropriate to your fuel type and usage. Annual inspection is the NFPA 211 standard for wood-burning systems; gas systems can typically extend to every two years barring observed issues.
How Your DIY Findings Can Shorten (and Reduce) a Professional Inspection
Your pre-inspection documentation, properly prepared, can reduce professional inspection time and focus the technician’s attention on confirmed concerns rather than systematic discovery. Here’s how to maximize that value.
Share your dated photographs at booking. Describe specific observations in plain language: “crack in left firebox wall, approximately 4 inches, running vertically from floor to 8 inches up.” This allows the technician to allocate appropriate equipment, potentially avoiding a return visit if specialized tools are needed.
Be explicit about what you could not assess. “Smoke shelf visible with mirror; upper flue not viewable. No camera equipment available.” This frames the professional inspection’s scope clearly and prevents redundant lower-flue examination.
Ask for targeted scope. A professional inspection can be scoped as full Level 1 (complete system), or with explicit focus on upper flue and exterior components if your documentation covers the accessible areas thoroughly. Not all companies offer partial scope, but Alcott Chimney Sweep will tailor inspection focus based on homeowner documentation when appropriate.
Understand the limits. Even with excellent homeowner documentation, certain components require full examination. A technician cannot ethically certify a chimney based solely on your photographs. But a 45-minute inspection focused on camera evaluation of the upper flue and roofline examination of the crown may replace a 90-minute complete discovery process, with corresponding cost reduction.
Typical professional inspection pricing in the Los Angeles market runs $150-300 for a Level 1 inspection, with camera evaluation of the flue liner adding $75-150. Your documentation won’t eliminate the base inspection, but it can reduce or eliminate supplemental discovery charges.
The Between-Seasons Check: When DIY Is Actually the Right Call
There is one situation where a homeowner visual check is not merely acceptable but preferable to calling a professional: the between-seasons status check after a period of disuse.
Los Angeles fireplaces often sit dormant from April through November. Before that first fall fire, a 15-minute homeowner check answers a specific question: is anything obviously wrong that would make lighting a fire today unsafe? You’re not certifying the system. You’re screening for obvious red flags that warrant postponing use until professional evaluation.
Specifically, check for:
- Bird nests, leaves, or debris visible in the flue throat or damper area
- Water pooling or significant staining indicating a new leak
- Cracks that have visibly worsened since last season
- Damper corrosion or seizure from months of disuse
- Animal droppings or odor indicating intrusion
If any of these are present, postpone the fire and schedule professional service. If all clear, proceed with first fire using normal precautions, and maintain your regular professional inspection schedule.
This check costs nothing, requires no appointment, and addresses the genuine hazard of lighting a long-dormant system without any recent observation. It’s the one DIY inspection scenario we actively encourage Los Angeles homeowners to adopt as routine.
Common Mistakes to Avoid
- Using a household vacuum to clean ash. Standard vacuums lack proper filtration and can disperse combustible particulate through your home. Even “ash vacuums” require cooled ash and proper technique. In Los Angeles, where Santa Ana winds already elevate particulate levels, this adds unnecessary indoor air quality degradation.
- Attempting roof access without proper equipment. Falls from single-story roofs cause serious injury annually. Spanish tile roofs, common throughout Los Angeles from Hancock Park to the Valley, are particularly treacherous. Binoculars from ground level are the correct tool; a ladder to the eave is not.
- Interpreting creosote color as safety indicator. Black, brown, or glazed creosote are all combustible. Stage 3 glazed creosote, which appears shiny and hardened, is actually the most dangerous form. Color alone does not indicate hazard level; thickness and physical state do.
- Assuming gas fireplaces need no inspection. Gas systems require professional inspection for proper burner operation, venting integrity, and carbon monoxide risk. Your DIY visual check of a gas insert is limited to observing flame color and whether the glass panel is intact. The venting system is entirely non-observable without disassembly.
- Using chemical creosote removers as substitute for sweeping. These products modify creosote but do not remove it. They can create a false sense of security and, in some cases, contribute to glazed buildup. They are not a DIY alternative to professional mechanical sweeping.
- Documenting without scale reference. A photograph of a crack without a coin, ruler, or familiar object for scale is nearly useless for remote assessment. Always include scale in condition photographs.
When to Call a Professional
Schedule professional inspection promptly if your DIY check reveals any of the following: cracks in firebox masonry wider than 1/8 inch, visible gaps in the flue liner, water staining that appears active, damper malfunction, any creosote buildup exceeding 1/8 inch thickness, or animal nesting material. Also call if you detect unusual odors when the system is dormant, experience smoke spillage into the room during operation, or have not had professional inspection within the past 12 months for wood-burning or 24 months for gas.
For Los Angeles homeowners, Alcott Chimney Sweep offers free estimates with written pricing before any work begins. Every technician is Threshold Verified: background-checked, identity-verified, and sent to you by name and photo before arrival. You’ll know exactly who is coming before the truck pulls into your driveway. Call (336) 863-3889 to schedule, or visit our page on Chimney Inspection in Los Angeles for more detail on what a professional Level 1 inspection includes.
Frequently Asked Questions
A Level 1 chimney inspection in Los Angeles typically costs $150-300, with camera evaluation of the flue liner adding $75-150 if needed. Prices vary based on accessibility, chimney height, and whether the inspection follows a sweep or is standalone. At Alcott Chimney Sweep, you’ll receive a written price before any work begins, with no surprise charges added after the fact. Call (336) 863-3889 for an exact quote on your specific chimney – estimates are free.
No. Smartphone cameras lack the self-leveling orientation, adjustable LED lighting, and protective housing needed for flue evaluation. More importantly, without training in what constitutes normal versus abnormal liner condition, the images you capture cannot be meaningfully interpreted. Professional camera inspection includes trained observation and documented reporting, not merely image capture.
This is exactly why Alcott Chimney Sweep provides camera footage you can see for yourself. A liner replacement recommendation should be accompanied by dated, labeled video or still images showing specific damage: cracked tiles, missing mortar joints, spalling surfaces, or gaps permitting gas escape. If a company recommends liner replacement without showing you the evidence, request it. If they cannot or will not provide visual documentation, seek a second opinion. We install DuraFlex liner systems and apply HeatShield resurfacing when appropriate, but only after camera documentation that we review with you together.
NFPA 211 recommends annual inspection for all chimney systems, with sweeping frequency based on use and fuel type. Wood-burning systems used regularly should be swept when creosote buildup reaches 1/8 inch, typically annually. Occasional-use Los Angeles fireplaces may extend slightly longer between sweeps, but the annual inspection remains important due to our climate pattern: winter moisture intrusion followed by summer drying creates masonry stress that progresses even without active use. DIY vs Professional Gas Fireplace Repair: What’s Safe to Do Yourself - gas fireplace systems should be inspected every 1-2 years for burner condition and venting integrity.
The two primary risks are chimney fire and carbon monoxide intrusion. Creosote ignition can reach temperatures exceeding 2,000°F, damaging liner and surrounding structure. Carbon monoxide can enter living spaces through cracked liners or blocked flues without visible warning, as CO is odorless and colorless. In Los Angeles, where many homes have attached garages and tight construction, CO accumulation risk is elevated compared to drafty older structures. Neither risk announces itself before becoming serious. The cost of prevention is modest compared to the potential consequences.
No. Insurance adjusters evaluating chimney-related claims look for professional documentation, not homeowner self-assessment. Your photographs and notes demonstrate awareness but carry no certification authority. A written inspection report from a certified chimney sweep, with dated photographic evidence, creates defensible proof of due diligence. For Los Angeles homeowners, maintaining professional inspection records is particularly valuable given California’s approach to wildfire-related claims and the additional scrutiny applied to combustion system maintenance.
The Bottom Line
The honest answer to “can I inspect my own chimney?” is: partially, usefully, but not comprehensively. Your flashlight and mirror cover the firebox, damper, and lower flue throat, which is enough to spot obvious problems and maintain awareness between professional visits. The upper flue, smoke chamber, and exterior components require equipment, access, and training that cannot be improvised. Use your DIY check as a screening tool and documentation aid, not as certification. For more guides & resources on chimney maintenance, explore our blog. Maintain professional inspection records for insurance defensibility and genuine safety verification. The 15% you can see matters; the 85% you can’t matters more.
Written by Ruben Castellano, Owner at Alcott Chimney Sweep, serving Los Angeles since 2002.